With the support of OpenXR, it is now easy to use MRTK with Meta Quest devices. These are overall steps to set up the environment. If you use a PC, you can preview Unity’s game mode on the headset in real time which helps you iterate fast. Unfortunately, Mac does not support this live preview, which means you must build and deploy the .apk app package every time you want to see your changes.
1. Quest Development Setup
Follow the instructions on this official Meta Quest Development Environment Setup. The steps include:
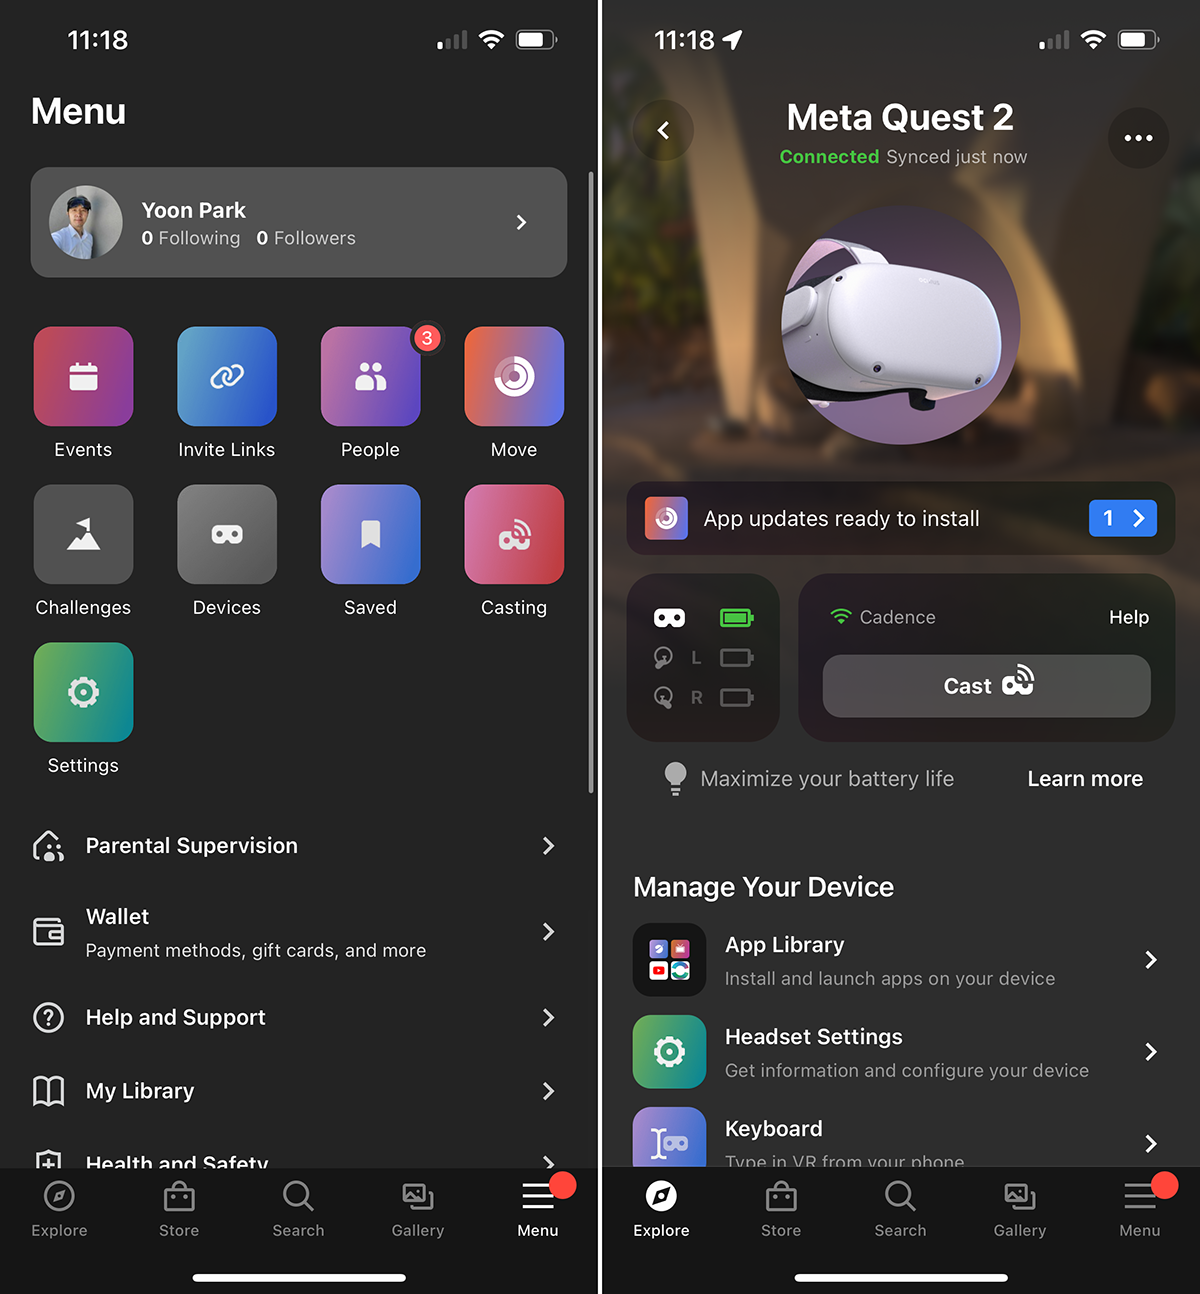
Download Meta Quest mobile app and sign in with the developer account. Pair with the headset.
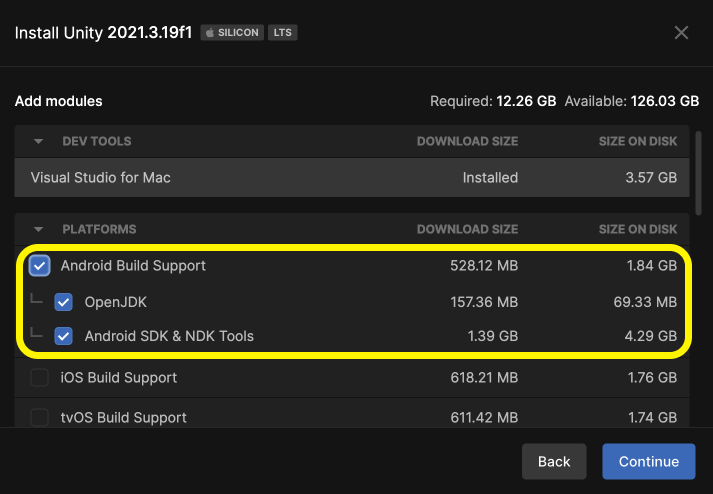
Install Unity Editor (2020.3 LTS or higher)
*Check Android Build Support with Android SDK + NDK + OpenJDK
Enable Device for Development, Connect over USB cable
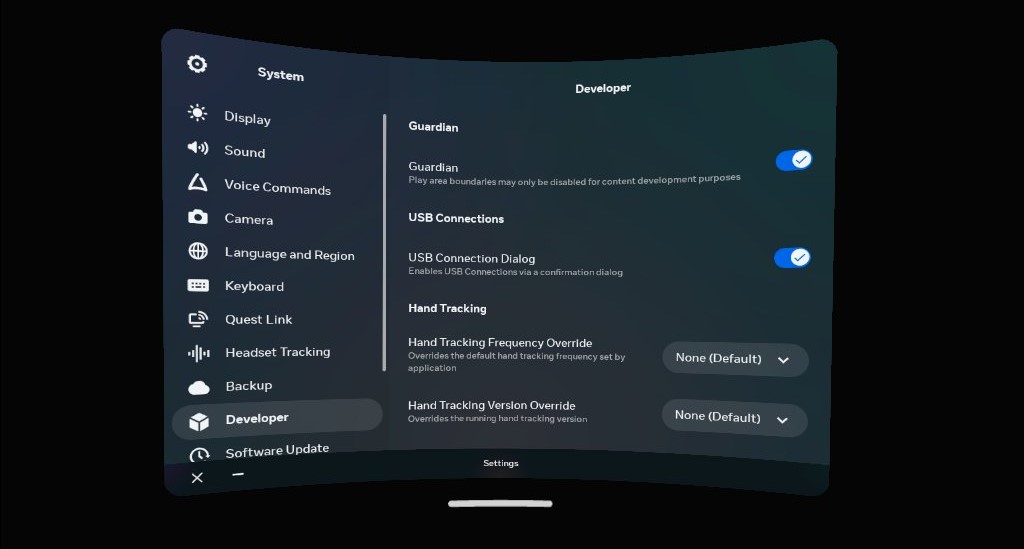
Connect the device with Quest Link-supported USB-C cable. (Any USB-C cable with robust thickness and quality will do) Turn on the Developer Mode on the mobile app or turn on the USB Connection Dialog option on the headset. (Settings > System > Developer)
2. Download MRTK3 from GitHub
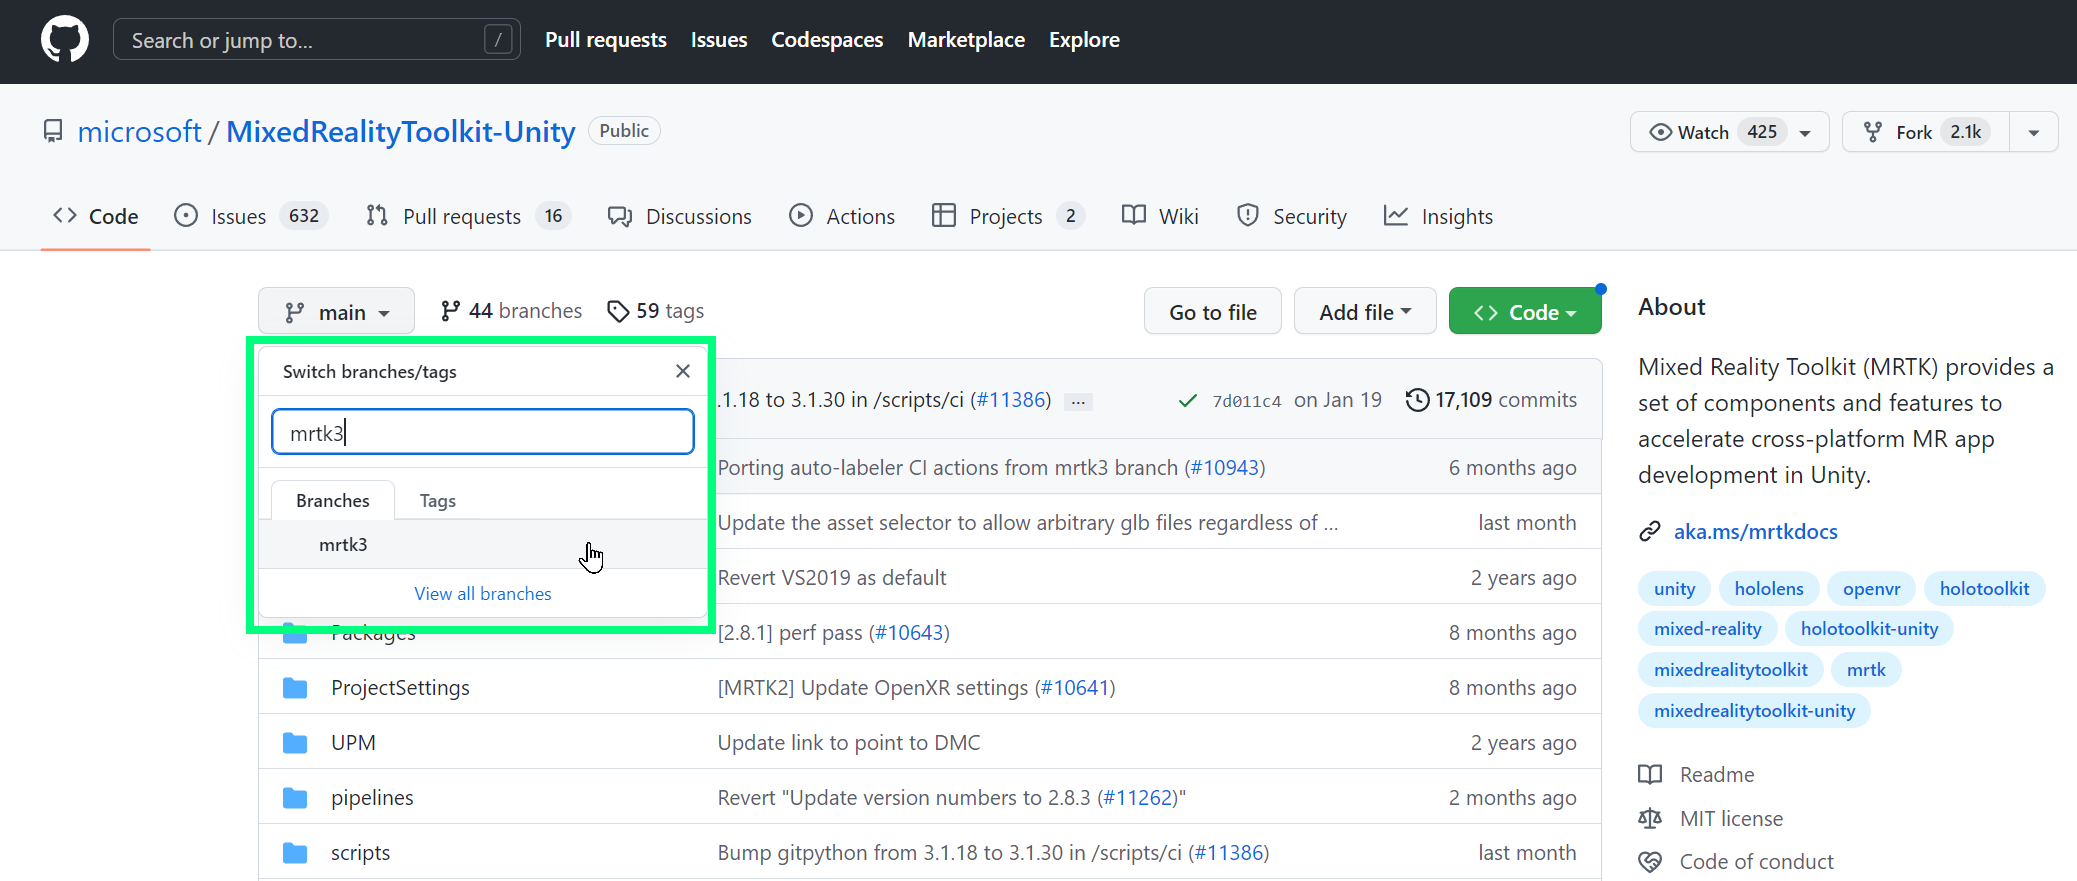
The simplest way to download MRTK3 including all example scenes is to download the zip file from MRTK GitHub. https://github.com/Microsoft/MixedRealityToolkit-Unity/tree/mrtk3
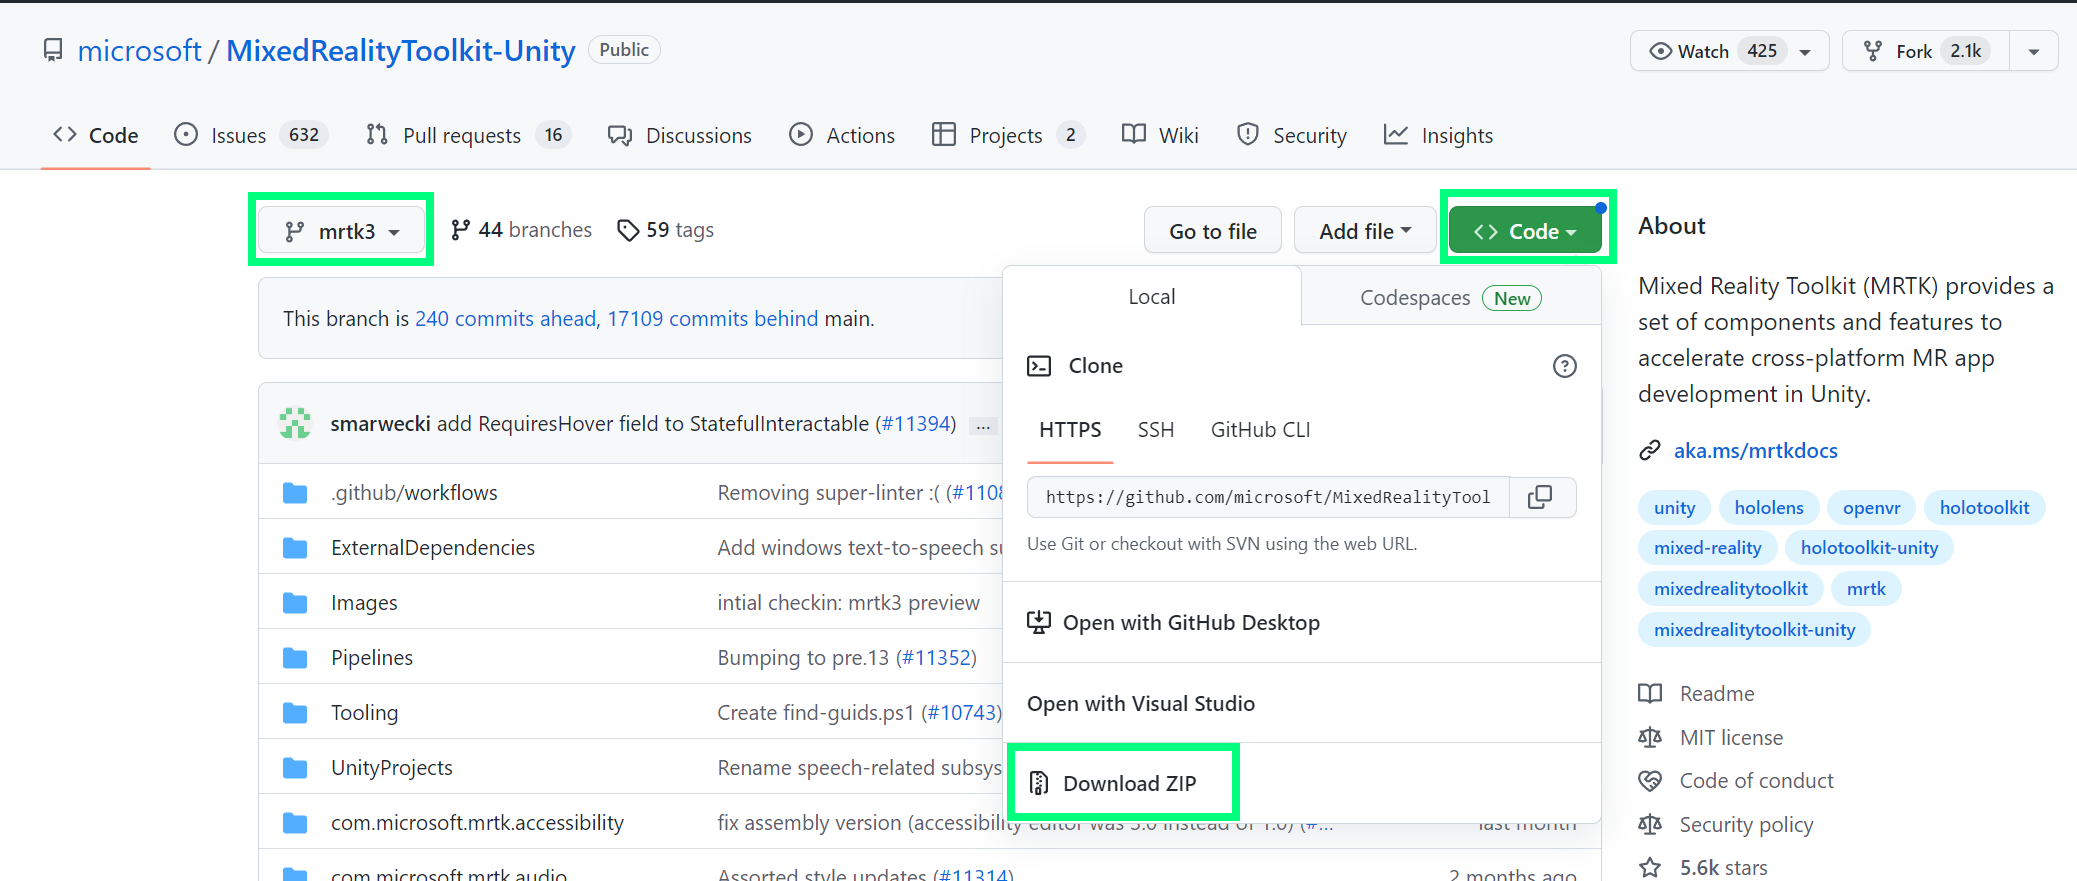
Make sure to select the branch mrtk3. Default main branch is MRTK2.
You can download the zip file through the menu Code > Download ZIP.
Extract the zip file.
3. Unity Setup
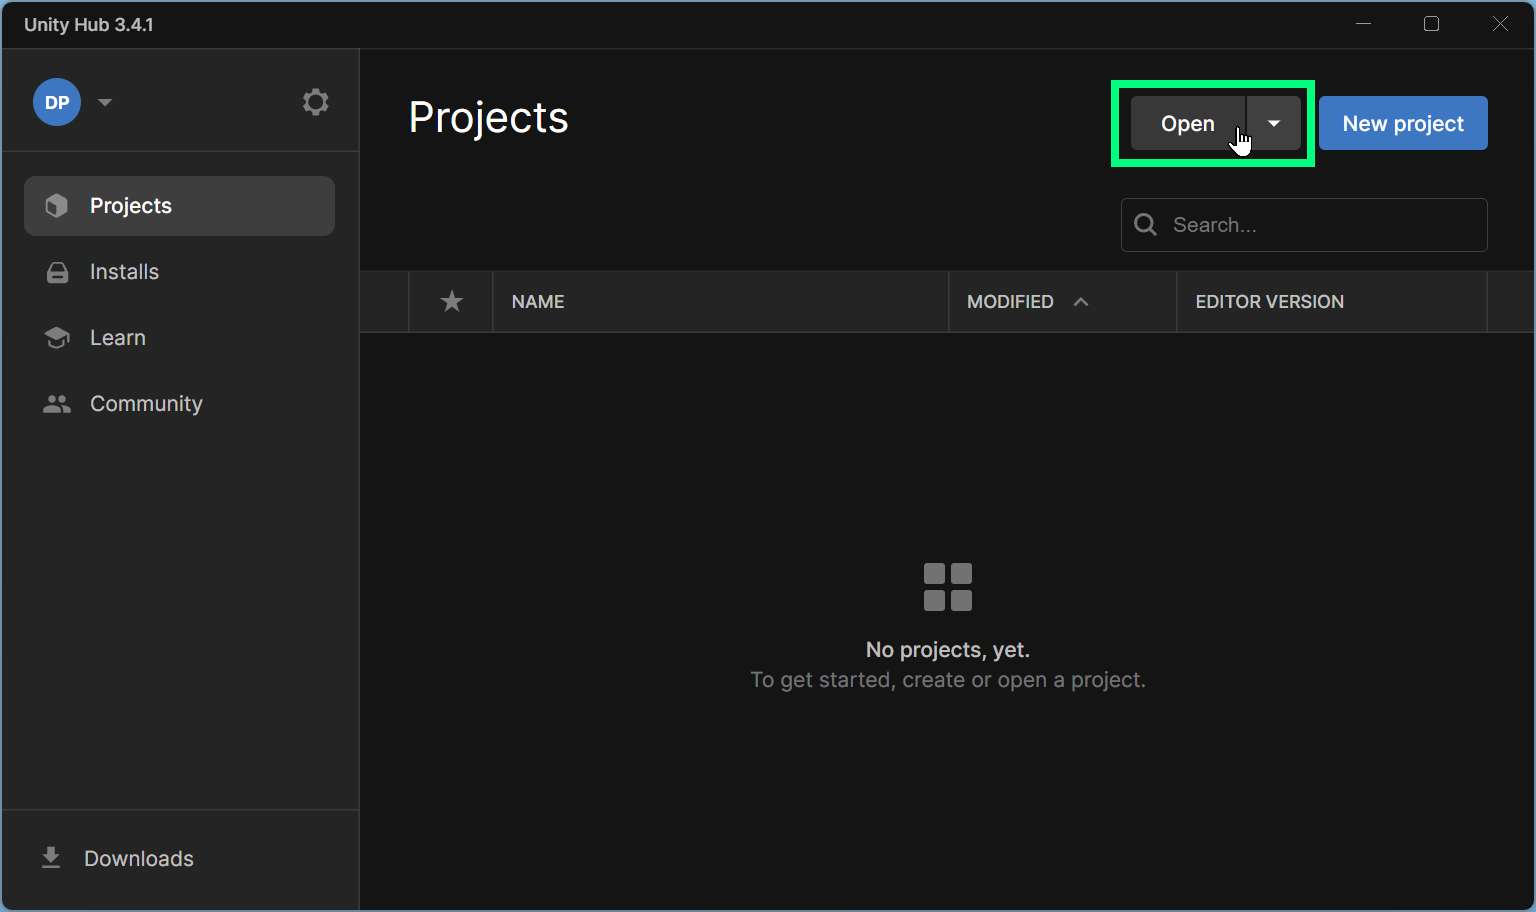
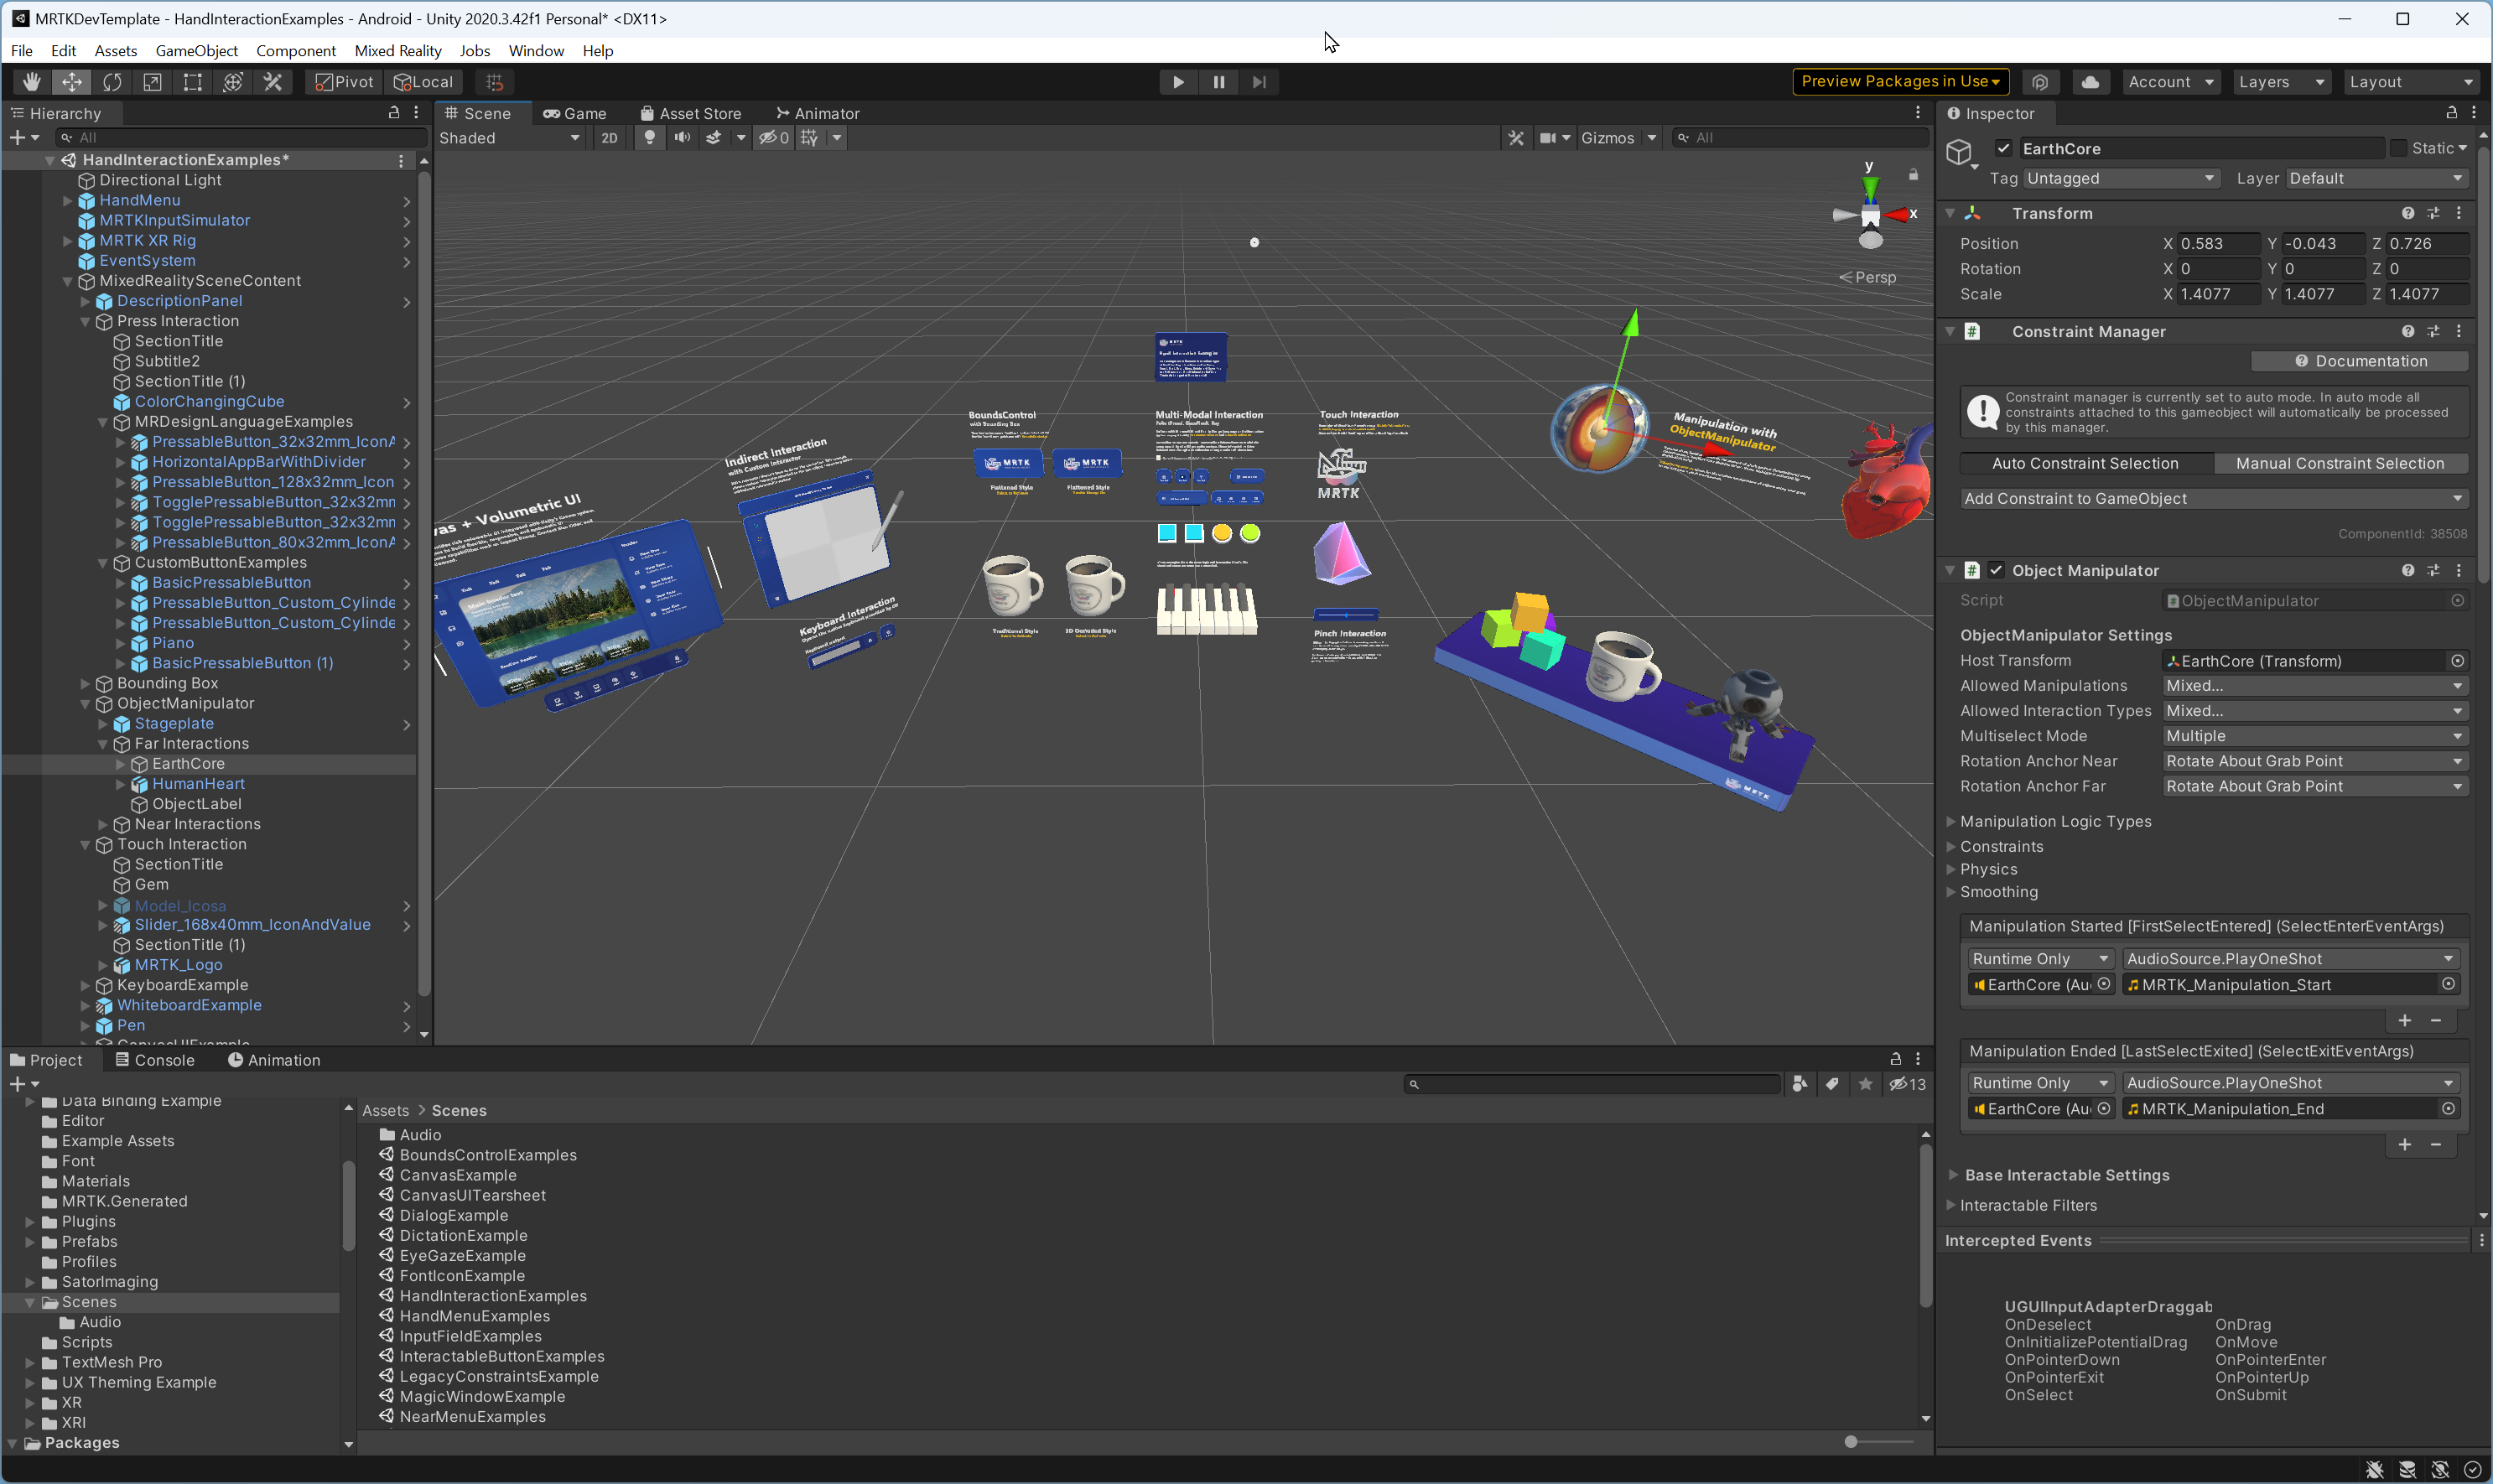
MRTK3 provides a template Unity project. Run Unity and Open the folder MRTKDevTemplate under MixedRealityToolkit-Unity-mrtk3\UnityProjects\
Open HandInteractionExample scenes under Assets > Scenes
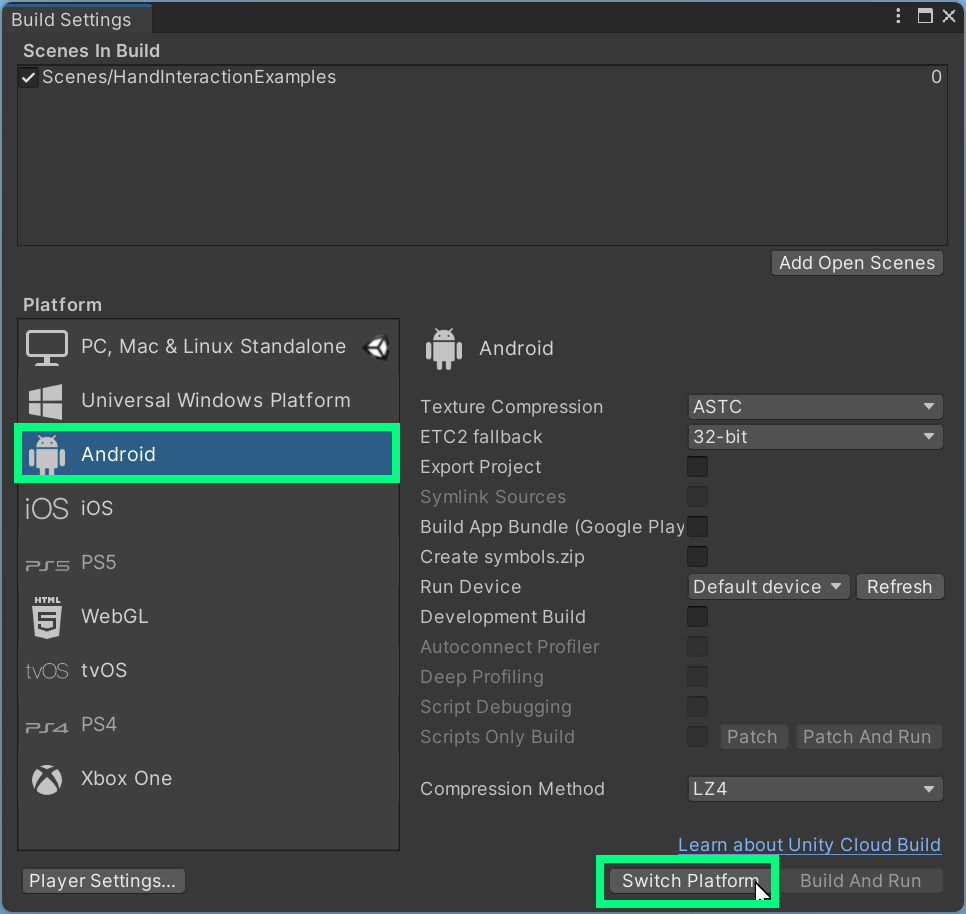
Open File > Build Settings. Click Add Open Scenes to add HandInteractionExamples.
Select Android and click ‘Switch Platform‘
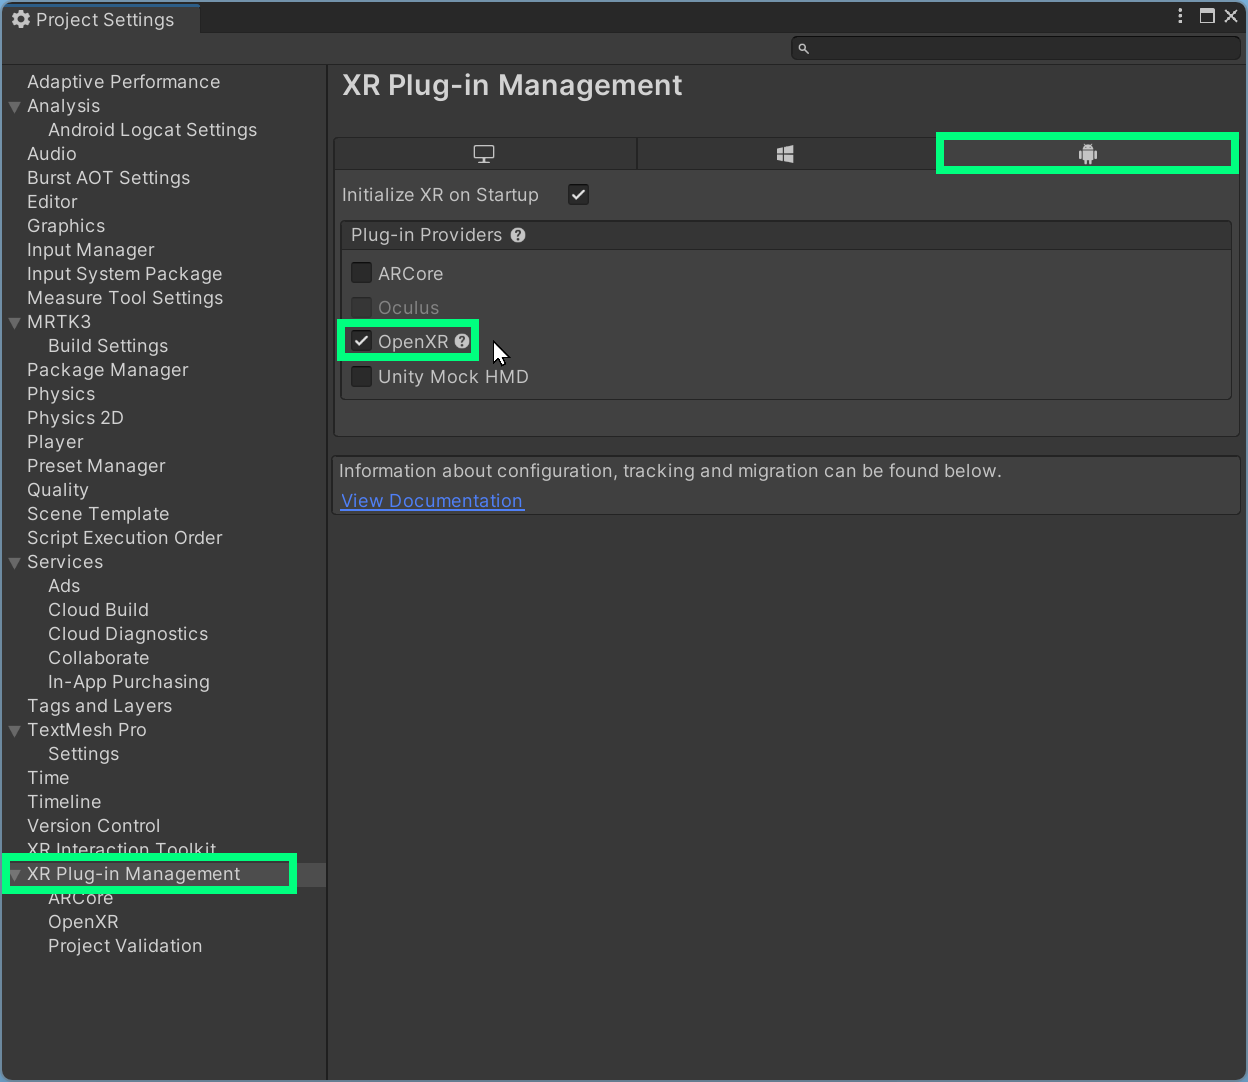
Navigate to Edit > project Settings.
Under Project Settings, navigate to XR Plug-in Management and enable OpenXR under the Android tab. Ensure that Initialize XR on Startup is selected and that no feature groups are enabled, and wait for the operation to finish.
Under Project Settings, navigate to XR Plug-in Management > OpenXR > Interaction Profiles and change it so only Oculus Touch Controller Profile is present.
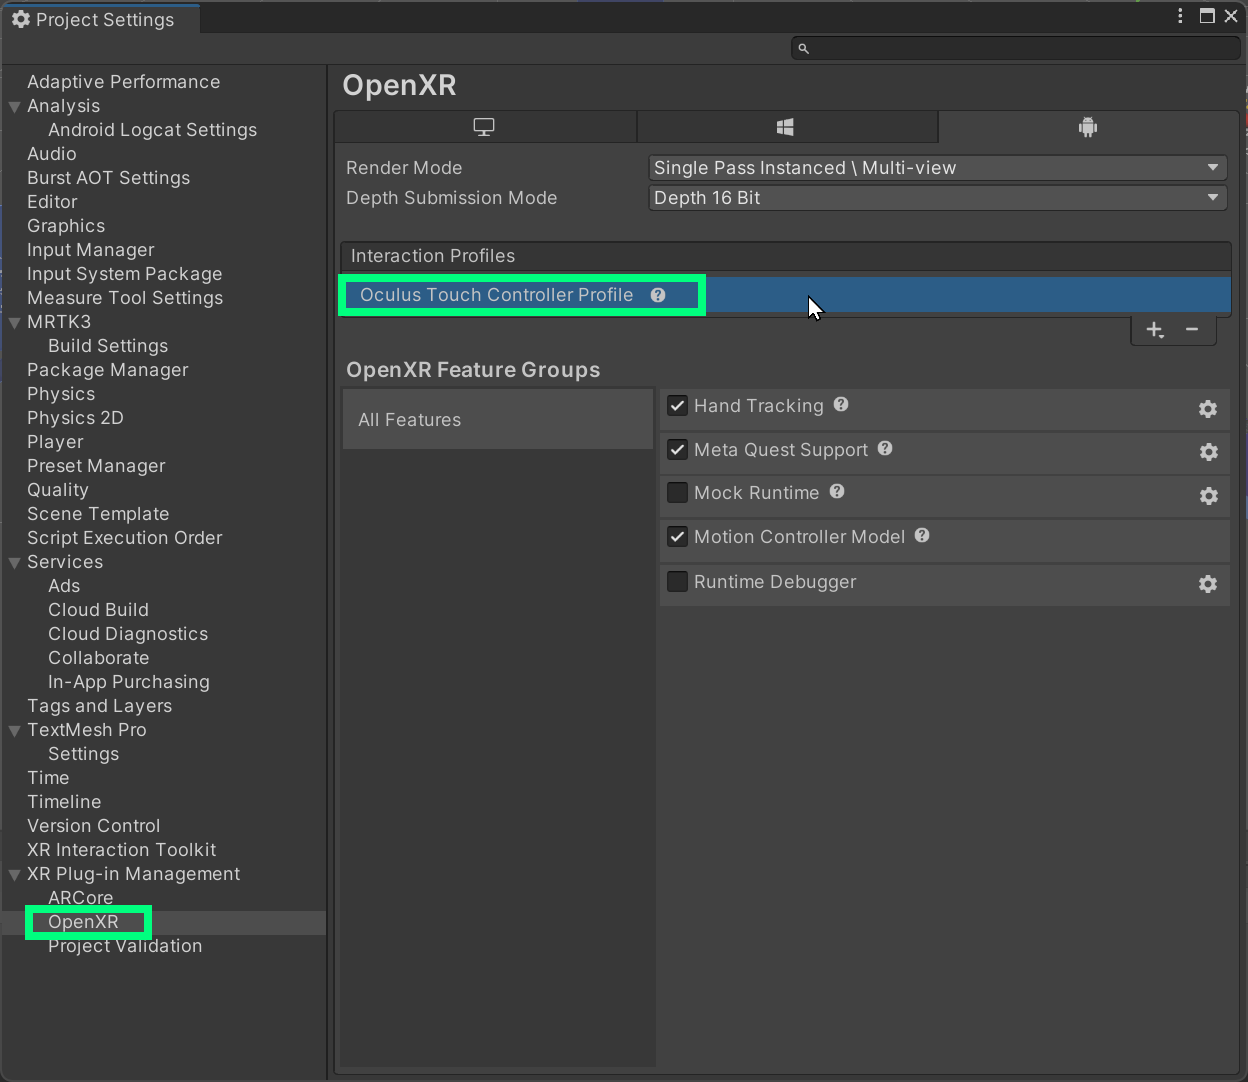
Do NOT follow the Configure Settings instructions on Oculus’s documentation page. Their instructions require the use of the Oculus Integration SDK, and uses the Oculus XR plugin rather than the OpenXR plugin.
4. Preview on the Quest device with Link (USB-C cable)
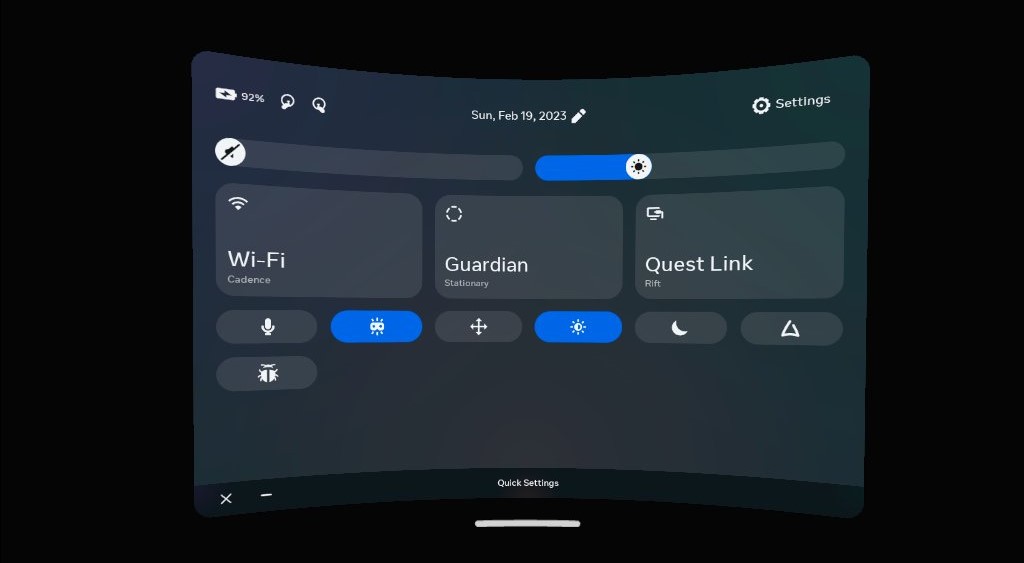
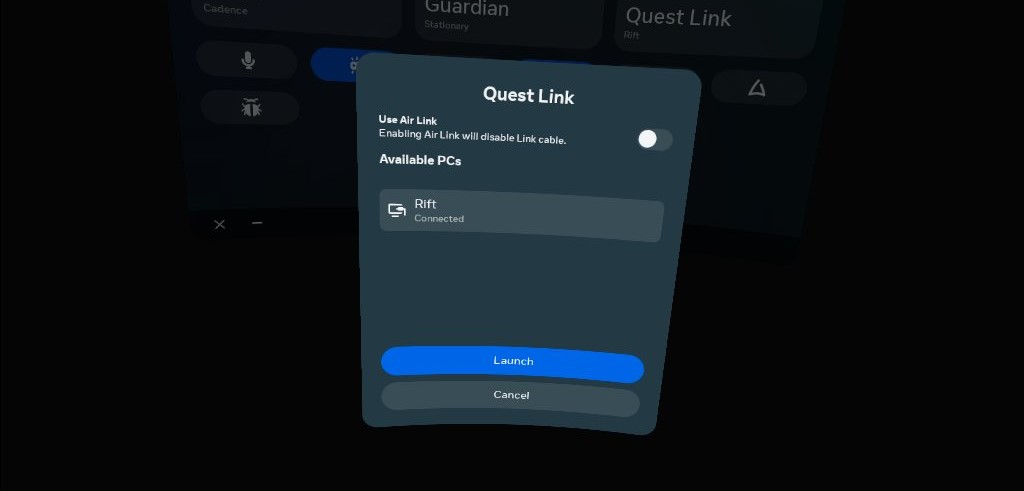
To preview Unity’s game mode, you need to enter the Quest Link mode. This mode allows you to display PC content on your headset. You can find this under the Quick Settings menu or under Settings > System > Quest Link menu
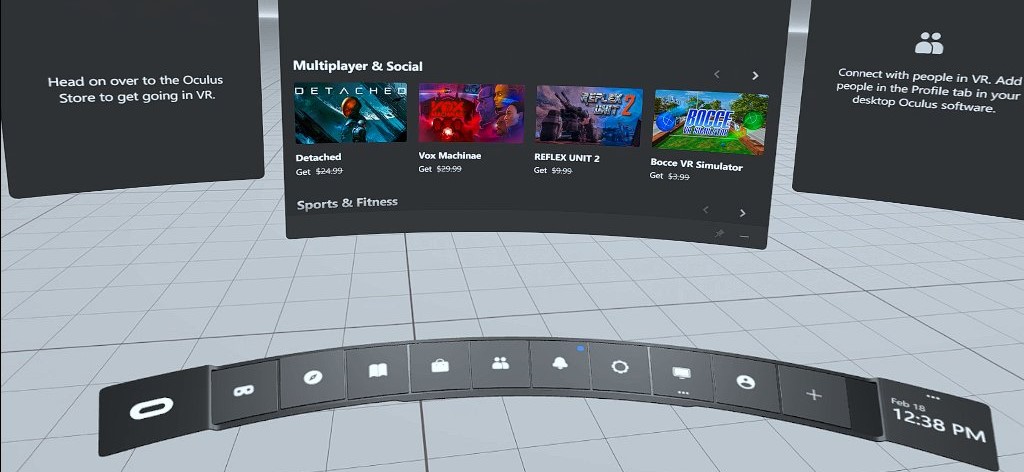
When you ender the Quest Link mode, you will see this light gray space with Oculus dashboard UI. If you see this screen, you are ready to run Unity play mode. (play mode)
Run HandInteractionExample scene by clicking the Play button in Unity. You will be able to see it in your headset. When you bring up your hands, you will see their visualization. Enjoy!
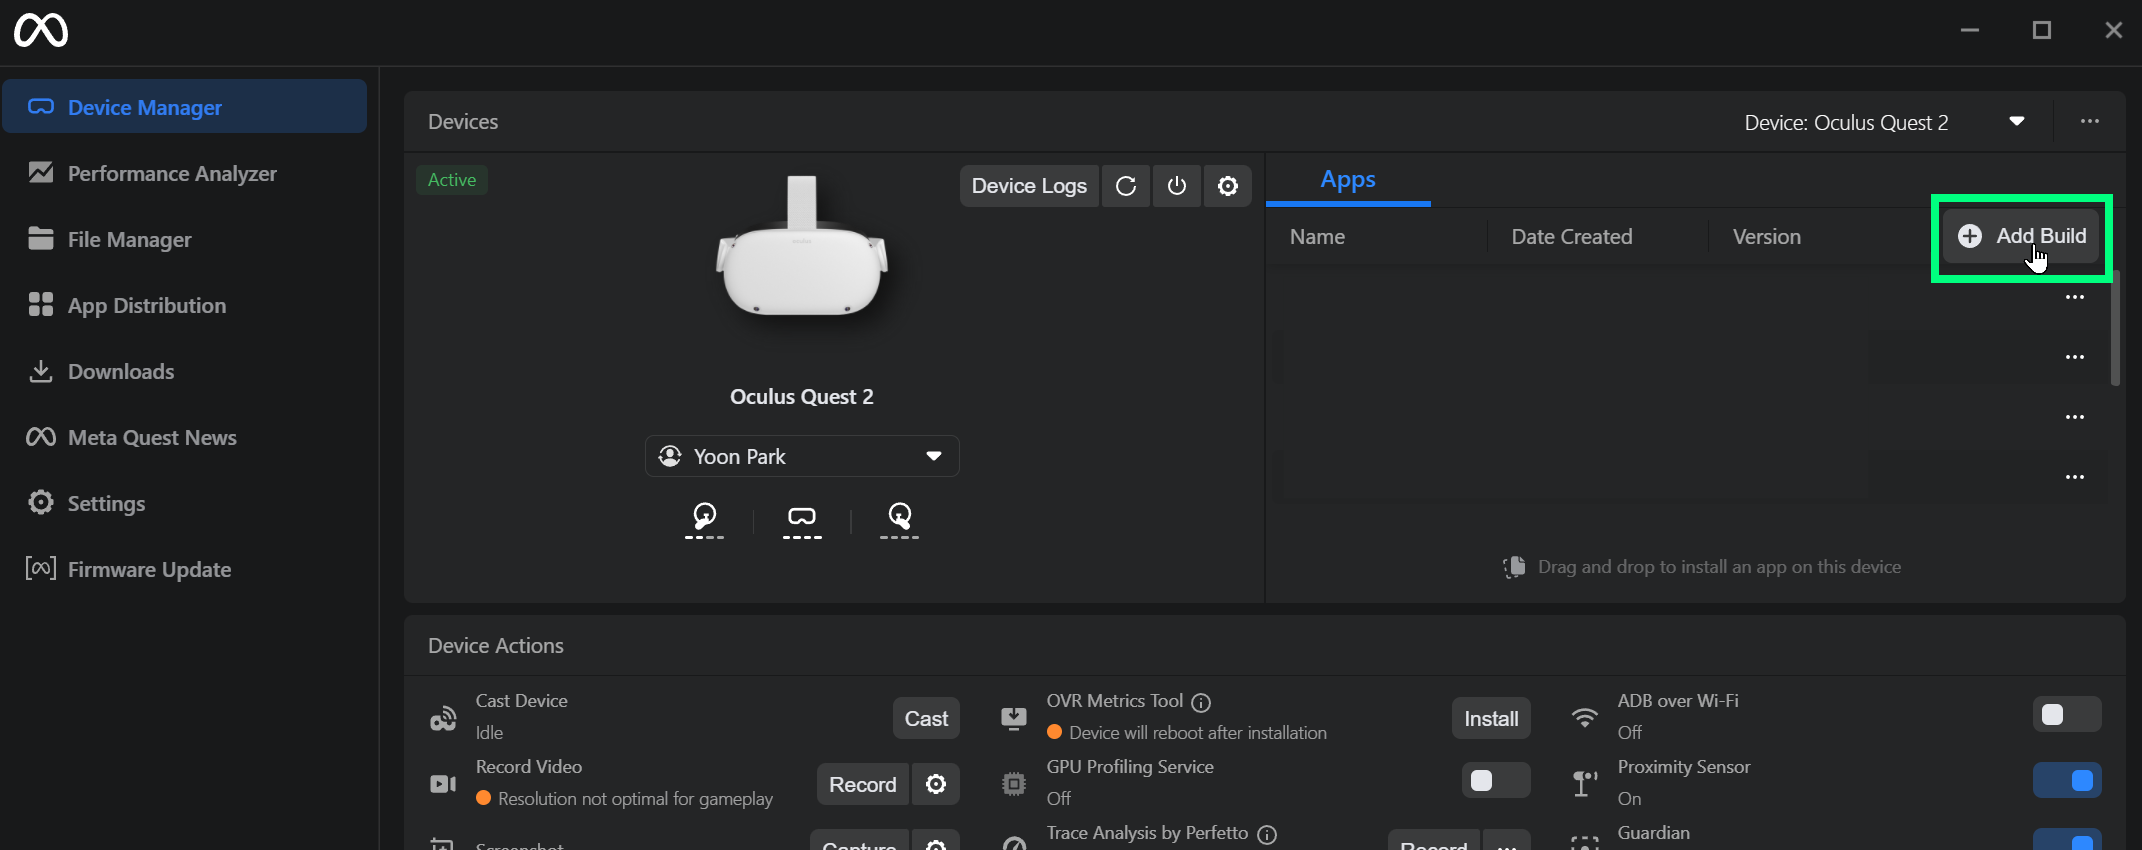
To build an .apk app package and deploy it to the device, simply click ‘Build’ or ‘Build and Run’ under the Build Settings window. If you select ‘Build’ it will generate a .apk in your specified folder. You can use Meta Quest Developer Hub to install the app package by using the ‘Add Build‘ menu.